-
CIRCULATION
Chapter 3. MANAGING PATRONS
Editing Patrons
You can modify the patron record for any patron in your library's database.
To edit a patron record:
- From the Circulation Menu (see
The Circulation
Menu for details), select Patron Status & Checkout.
- The Patron Search screen displays.
Patron Search Screen
- Locate the patron for whom you wish to edit the user record.
NOTE: To return to the most recently accessed patron account, click the Previous Patron button.
-
If
desired, limit your patron search to a specific patron group by
selecting the desired group from the Userís Group menu.
- Select All User Groups to display users for all user groups.
- Select the desired user group to display users for the associated group only.
- Enter the patronís barcode or last name in the User Barcode or Last
Name text box. To view a list of all users associated with the
currently specified Userís Group, leave the User Barcode or Last Name
text box blank.
- When entering a barcode, enter the complete barcode.
NOTE: If your library has enabled searching by partial barcode (see the Circulation Administration User Guide for details), you may enter a complete or partial barcode.
- When entering a patron name, you may enter a complete or partial last name.
-
If
desired, limit your patron search to a specific patron group by
selecting the desired group from the Userís Group menu.
- Click the Submit button.
- If you enter a patronís last name, and an exact match to your search term is not located, the patron list displays, with the patron name that most closely matches your search term shown as the first entry in the list. Use the Previous and Next buttons to scroll the list forwards and backwards from this point. Click the desired Patron Barcode to display the Patron Status, Checkout & Reserves screen for the associated patron.
Patron List
NOTE: If you select the wrong patron, click the Not (patron name) ? link to return to the Patron List.
- If you enter a patronís last name, and an exact match to your search term is located, the patron list displays, with the first occurrence of the patron name shown as the first entry in the list. Use the Previous and Next buttons to scroll the list forwards and backwards from this point. Click the desired Patron Barcode to display the Patron Status, Checkout & Reserves screen for the associated patron.
NOTE: If you select the wrong patron, click the Not (patron name) ? link to return to the Patron List.
- If you enter a patronís barcode, and an exact match to your search term is located, the Patron Status, Checkout & Reserves screen for the associated patron displays.

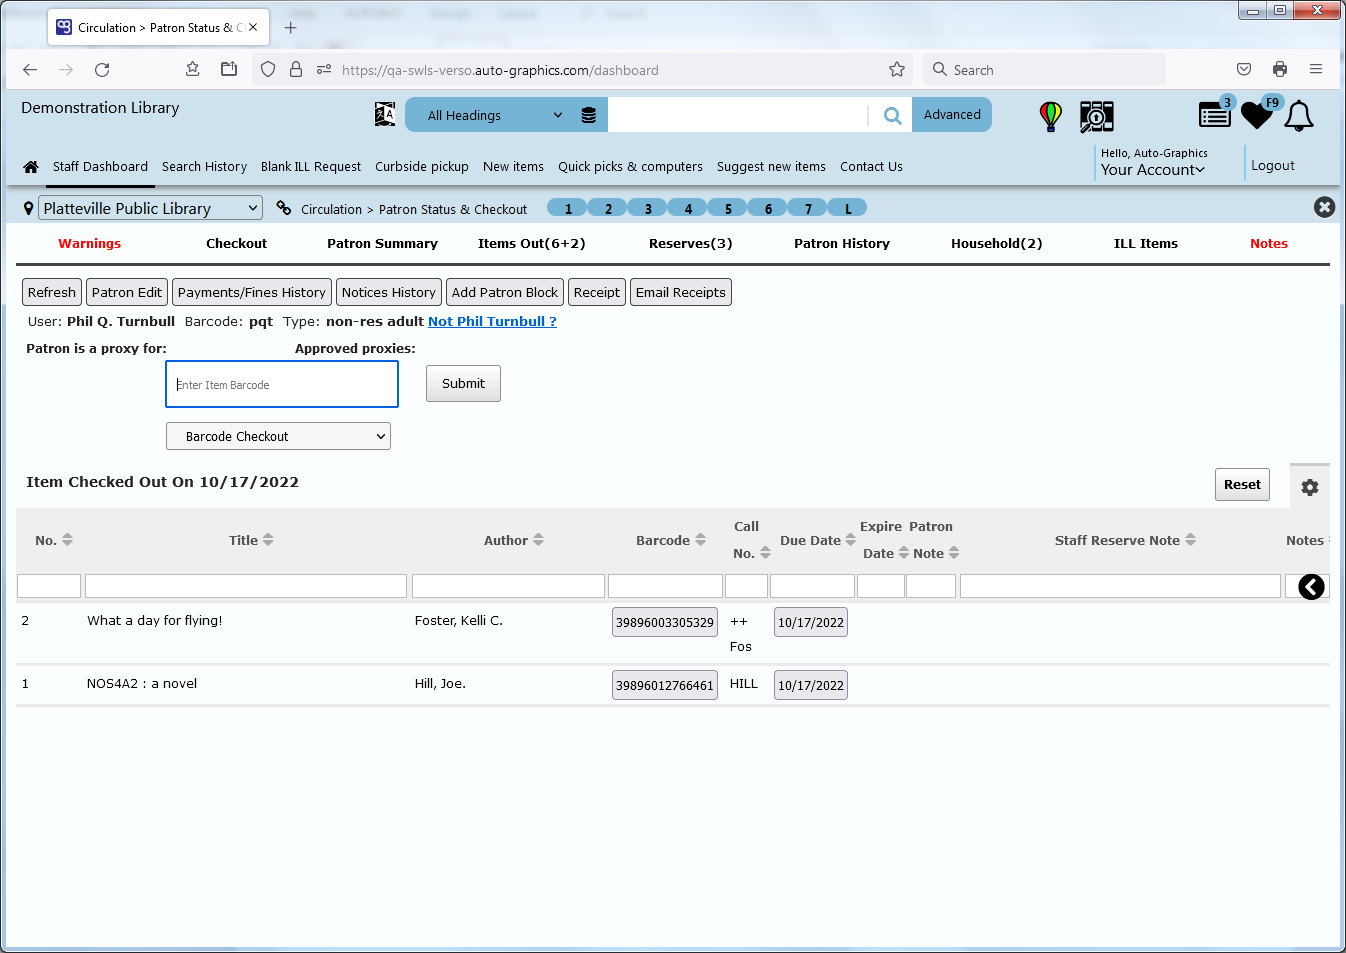
Patron Status, Checkout & Reserves Screen
-
Click the Patron Edit button.
- The Edit User Account screen displays.
- The Edit User Account screen is pre-filled with current information for the selected patron. The Date Added and Date Updated fields located at the bottom of the screen show the date and time at which the User Record was initially created, and the most recent date and time on which the User Record was most recently edited.
Edit User Account Screen
- Enter, edit or delete information on the Edit User Accounts screen as
desired (see
Adding a Patron for details).
- When editing the Expiration Date, click the Update Exp Date button to extend the patronís expiration date by a predetermined period of time from the date on which the patronís record is edited. This time period is configured through Circulation Options in the Circulation Administration module (see the Circulation Administration User Guide for more information).
- If desired, click the Manage Proxies link to add or delete proxies for the user (see Working with Proxies and Managing Proxies for more information).
NOTE: Patron Proxy functionality is optional and may not be enabled for all systems (see the Circulation Administration User Guide for more information).
- When all desired information has been edited, click the Submit button to save your changes to the User Record.
- If you did not include an entry in a ďmandatoryĒ field, An advisory message displays.
- Click the OK button to close the message.
- Enter the required information, then click the Submit button to continue.
- If you selected Email from the Notification Preferences menu or Reserve Notification Preferences menu and did not enter an E-mail address for the patron, an advisory message displays.
- Click the OK button to close the message.
- Enter an E-mail address for the patron, then click the Submit button to continue.
- If you selected SMS from the Notification Preferences menu or Reserve Notification Preferences menu and did not enter a Mobile Phone number and/or Mobile Provider for the patron, an advisory message displays.
- Click the OK button to close the message.
- Enter a Mobile Phone number and/or Mobile Provider for the patron as necessary, then click the Submit button to continue.
NOTE: If your library has enabled User Registration Duplicate Checking (see the User Administration User Guide for details), the User Duplicate Check Results dialog displays when you submit the record. Resolve any issues detected during the duplicate check, as appropriate (see Resolving User Duplicate Check Results for details).
- The Edit User Accounts screen closes automatically, and the Patron Checkout, Status & Reserves screen refreshes to reflect your changes.